This week Ju made Jamie Oliver's Spanish Choritzo and Chickpea Soup
Joe didn't cook as he wasn't well.
Tuesday, 21 February 2012

Saturday, 18 February 2012
Red Velvet Celebration Cake
 Another Lorraine Pascale recipe. I seem to have a serious crush on this womans' cooking ad baking at the moment!
I decided to bake a cake for my friends birthday. I was never going to make the three tier version - I love my friend but not three tiers worth of love ;-). And so, I made the middle tier (23cm/9in). These were the ingredients I used.
350g/12oz butter, softened, plus extra for greasing
350g/12oz caster sugar
6 free-range eggs
½ tsp vanilla essence
pinch salt
300g/10oz plain flour
50g/2oz cocoa powder
1 tbsp baking powder
50ml/2fl oz red food colouring
800g/1¾lb ready-to-roll white icing
I began by turning the over to 180C and lining my cake tins with greaseproof paper at the base and greasing with butter.
I beat together the butter and sugar until soft and fluffy before gradually mixing in the eggs, vanilla extract, salt and half of the flour. The rest of the flour was added along with the cocoa and baking powder. Combine the mixture before adding the food colouring and mixing. I was undecided as to whether it looked fab in it's redness or looked as if I'd injured myself and bled into the cake mix!
I poured the mixture into two tins (rather than the one that Lorraine advices), half in each tin, and baked in the oven for around 40 mins. When it's ready, a skewer - or in my case a knife - will come out clean after being inserted into the middle of the baking cake. Once ready, the cake should be left to cool for a few minutes until the tin is cool enough to touch. The can can then be removed from the tin and left to cool completely on a wire rack.
Next it's time time to make the buttercream, using these ingredients:-
- 365g butter, softened
- 900g/icing sugar
- 115g cream cheese
- few drops vanilla extract
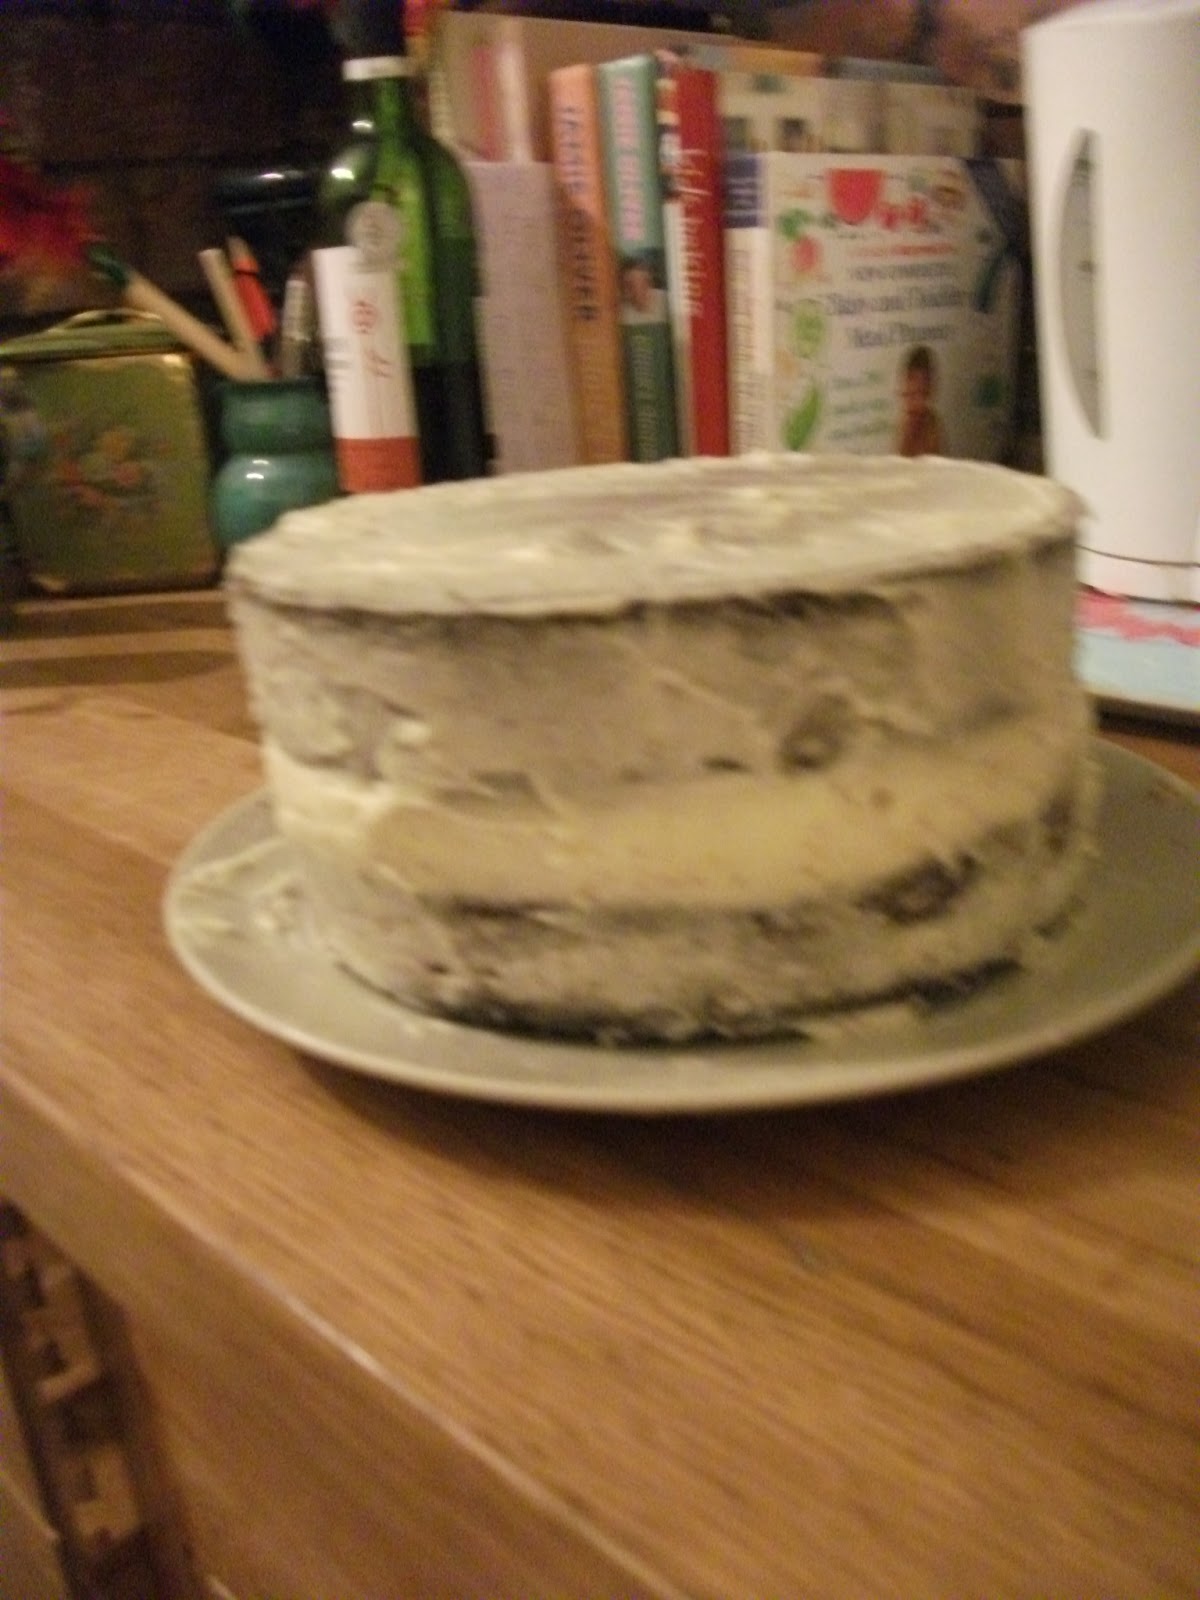 After creaming together the butter and sugar until it was creamy and fluffy, I then added the cream cheese and vanilla essence and mixed them in well. I used a third of this mixture to sandwich the two cakes together. Another third of the mixture was then used to coat the (sandwiched) cake - in the way that you might use marzipan or apricot jam as the 'undercoat' to the sugarpaste icing. I found that using a palet knife was the easiest way to achieve a smooth finish. I put the cake in the fridge for the buttercream coating to set - 30 mins to half an hour. Using the remaining buttercream mixture a second coating is put onto the cake and again the cake needs to be put inn the fridge for the buttercream to set.
Once set, the cake is ready to be iced in the sugarpaste. The icing needs to be kneaded until soft and then rolled out on a clean surface that has been dusted in icing sugar. Once the icing was rolled out enough to coverr the cake I lifted it carefully over my rolling pin and placed it over the cake, pressing down gently at the sides. Ideally at this stage, to achieve a professional finish, cake smoothers should be used to 'polish' the cake. At this stage you can then decorate as you wish. I used a flower shaped plunger cutter to cut out the (bought ready made) red sugarpaste flowers and then I used edible glue to stick then onto my iced cake and put a 'dot' of white icing in the middle. And this was the result....
Wednesday, 15 February 2012
What's going on?
I'm all behind myself and have loads of recipes we've been busy cooking and baking that I need to write up...I plan to get back on top of things over the weekend! In the meantime plesae bear with me. You can see some of what's been keeping me busy by clicking here.
Wednesday, 8 February 2012
Blueberry pancakes with crisp prosiutto and maple syrup - a Lorraine Pascale recipe

Firstly, I can't stress enough just delicious these are. No, seriously. If you have any self respect then you owe it to yourself to eat these at least once in your lifetime. I plan to fit in as many helpings as I can in the time I have left. In fact this recipe should probably come with a health warning - "these pancakes can seriously improve your life". I'll say no more. Let's cook!
These are the ingredients:
- vegetable oil for frying
- Ix pack of procuitto
- 250g plain flour
- 15g baking powder
- pinch of salt
- 1 tsp sugar
- 300ml sour cream
- 100ml warm water
- 200g of blueberries

Lorraine advises putting the oven on low - in anticipation of needing to keep some of the pancakes warm whilst cooking the some more - this is a good tip. I lightly fried (in a frying pan) the procuitto in a little of the oil until it began to 'crisp' and then put it to one side. It's a good idea to 'blot' it with kitchen roll to soak up the oil and maintain the 'crisp'. I turned off the heat but kept the oil in the frying pan to use later for frying the pancakes.

Time to make the pancake mix. I combined the flour, baking powder, salt and sugar in a mixing bowl and then made a large hole in the centre. After mixing together the sour cream and water in a measuring jug I then added this to the flour mixture - pouring into the hole in the centre and then gradually drew the flour mixture in. I beat the mixture for a few minutes to get some air into it. If lumps start apprearing, Lorraine advises us to beat the mixture like mad'. The blueberries were then gently stirred in to the mixture.
I reheated the oil in the frying pan over a medium heat before spooning 3 large (seperate) blobs of the pancake miture into the frying pan.

Once golden brown underneath, the pancakes were flipped over to cook the other side. When they are cooked they look nicely firm and set on the sides. Whilst cooking the next batch the cooked pancakes can be placed on a baking tray in the warm oven.

Once all the pancakes were cooked, I built a tower of pancakes with the crisp prosiutto placed inbetween each layer and then added a generous drizzle of maple syrup to the top and let it run down the layers of the tower.
Then of course comes the best bit...the eating! Go on, get stuck in!! We served our pancakes up on vintage mismatched china - the perfect 'fancy' anniversary brunch :)


Tuesday, 7 February 2012
Week 5 of our 2012 culinary challenge!
Ju made:-
- blueberry pancakes with prosiutto and maple syrup - new favourite thing to eat in the world ever!!!
- a red velvet celebration cake
Friday, 3 February 2012
Friday favourites! (2)
Warming winter chilli
This is a definte favourite in our house. We make huge vats of it and freeze it so that we can eat it for weeks to come. I first posted this recipe on my blog 'Ju's musings on life' - in the 'foody things' section.

Ingredients
· 4 onions
· 2 cloves garlic
· 4 tablespoons olive oil
· chilli powder – as much or as little as you prefer, I usually start off with 2 teaspoons but it really depends on your taste and the strength of the chilli powder. More can be added when all ingredients are bubbling away. Alternatively you could use fresh chillies – again, to taste.
· 2 teaspoons ground coriander
· 2 teaspoons ground cumin
· 1 teaspoon ground ginger (optional – adds a nice seasonal touch at Christmas)
· 2 cinnamon sticks or 1 teaspoon
·2 red peppers
· 1.5kg minced beef
· 4 x 400g cans chopped tomatoes
· Tomato ketchup, to taste - Nigella recommends 8 tablespoons
· 1 tube of tomato puree, or to taste
· 250ml water – or as much as you think it needs
· 2 tablespoons cocoa or grated dark chocolate – I currently use a wonderful pure cacao bar from Willie’s World Class Cacao which is brilliant for cooking.
· 2 x 400g cans red kidney beans – I prefer to use the “chilli beans” as they give more flavour
Method
· Add the tomatoes, kidney beans, tomato puree and tomato ketchup
· Add as much water as you feel it needs at this stage – I don’t like it to be too runny and you can always let it down more later.
· Bring to the boil and the add the cocao powder or grated dark chocolate – don’t be tempted to miss this out as it really creates a richness in both colour and flavour.
· Simmer for 2 hours - have a taste now and again to see if you would like to add more chilli powder, ketchup or water.
You can now either save the mixture until later, cool and freeze, or immediately bake. Either way, before serving, the chilli should be baked in the oven – gas mark 7/220C – for 30–40 mins. I sometimes add buttered bread to the top 20 mins before it’s ready.
Serve in a variety of ways:- with boiled rice, taco shells, jacket potatoes, and accompany with sour cream, natural yoghurt, guacamole.
_________________________________________________________
Tell me, what's your Friday Foodie Favourite? Leave me a comment below!
This is a definte favourite in our house. We make huge vats of it and freeze it so that we can eat it for weeks to come. I first posted this recipe on my blog 'Ju's musings on life' - in the 'foody things' section.

This recipe is based on Nigella’s ‘cornbread topped chilli’ – although I’ve never made the cornbread - combined with a few tips and tricks from Jamie Oliver. It turns out different each time I make it but it’s always delicious.
I would estimate the quantities below would serve around 8 to 10 (rather than the 16 that Nigella quotes) main course portions but really it depends on how big you like those portions to be and what you serve it with. Ingredients
· 4 onions
· 2 cloves garlic
· 4 tablespoons olive oil
· chilli powder – as much or as little as you prefer, I usually start off with 2 teaspoons but it really depends on your taste and the strength of the chilli powder. More can be added when all ingredients are bubbling away. Alternatively you could use fresh chillies – again, to taste.
· 2 teaspoons ground coriander
· 2 teaspoons ground cumin
· 1 teaspoon ground ginger (optional – adds a nice seasonal touch at Christmas)
· 2 cinnamon sticks or 1 teaspoon
·2 red peppers
· 1.5kg minced beef
· 4 x 400g cans chopped tomatoes
· Tomato ketchup, to taste - Nigella recommends 8 tablespoons
· 1 tube of tomato puree, or to taste
· 250ml water – or as much as you think it needs
· 2 tablespoons cocoa or grated dark chocolate – I currently use a wonderful pure cacao bar from Willie’s World Class Cacao which is brilliant for cooking.
· 2 x 400g cans red kidney beans – I prefer to use the “chilli beans” as they give more flavour
Method
· Add the tomatoes, kidney beans, tomato puree and tomato ketchup
· Add as much water as you feel it needs at this stage – I don’t like it to be too runny and you can always let it down more later.
· Bring to the boil and the add the cocao powder or grated dark chocolate – don’t be tempted to miss this out as it really creates a richness in both colour and flavour.
· Simmer for 2 hours - have a taste now and again to see if you would like to add more chilli powder, ketchup or water.
You can now either save the mixture until later, cool and freeze, or immediately bake. Either way, before serving, the chilli should be baked in the oven – gas mark 7/220C – for 30–40 mins. I sometimes add buttered bread to the top 20 mins before it’s ready.
Serve in a variety of ways:- with boiled rice, taco shells, jacket potatoes, and accompany with sour cream, natural yoghurt, guacamole.
_________________________________________________________
Tell me, what's your Friday Foodie Favourite? Leave me a comment below!
Thursday, 2 February 2012
Joe makes cornflake and rice krispie cakes
Joe was really up for cooking when it came to making these cornflake and rice krispie cakes for 'bun day' at school the next day. Each Friday it's 'bun day' and the year groups take it in turns to provide the buns. Each child in the school pays 20p for a bun and the money either goes into the school fund for supplementing school trips and things like that or it is given to charity if there is something like Comic Relief or Children in Need happening at the time .
As unlikely as it sounds, we followed a Nigel Slater recipe. Who would have thought Nigel would spend his time making cornflake cakes!
These were the ingredients

As unlikely as it sounds, we followed a Nigel Slater recipe. Who would have thought Nigel would spend his time making cornflake cakes!
These were the ingredients
- 50 g butter
- 4 tbsp golden syrup
- 100 g dark chocolate
- 75 g cornflakes
We melted the butter, chocolate and syrup in a pan. Once melted and mixed together we stirred in the cornflakes. When the cornflakes were covered in the chocolatey mixture we put large spoonfuls into bun cases on a baking tray which was then placed in the fridge to let the cakes set.


We then repeated the process using rice krispies. Simple and delicious. Thakfully we made lots so that we didn't have to take them all into school!


We then repeated the process using rice krispies. Simple and delicious. Thakfully we made lots so that we didn't have to take them all into school!

Subscribe to:
Posts (Atom)