 Another Lorraine Pascale recipe. I seem to have a serious crush on this womans' cooking ad baking at the moment!
I decided to bake a cake for my friends birthday. I was never going to make the three tier version - I love my friend but not three tiers worth of love ;-). And so, I made the middle tier (23cm/9in). These were the ingredients I used.
350g/12oz butter, softened, plus extra for greasing
350g/12oz caster sugar
6 free-range eggs
½ tsp vanilla essence
pinch salt
300g/10oz plain flour
50g/2oz cocoa powder
1 tbsp baking powder
50ml/2fl oz red food colouring
800g/1¾lb ready-to-roll white icing
I began by turning the over to 180C and lining my cake tins with greaseproof paper at the base and greasing with butter.
I beat together the butter and sugar until soft and fluffy before gradually mixing in the eggs, vanilla extract, salt and half of the flour. The rest of the flour was added along with the cocoa and baking powder. Combine the mixture before adding the food colouring and mixing. I was undecided as to whether it looked fab in it's redness or looked as if I'd injured myself and bled into the cake mix!
I poured the mixture into two tins (rather than the one that Lorraine advices), half in each tin, and baked in the oven for around 40 mins. When it's ready, a skewer - or in my case a knife - will come out clean after being inserted into the middle of the baking cake. Once ready, the cake should be left to cool for a few minutes until the tin is cool enough to touch. The can can then be removed from the tin and left to cool completely on a wire rack.
Next it's time time to make the buttercream, using these ingredients:-
- 365g butter, softened
- 900g/icing sugar
- 115g cream cheese
- few drops vanilla extract
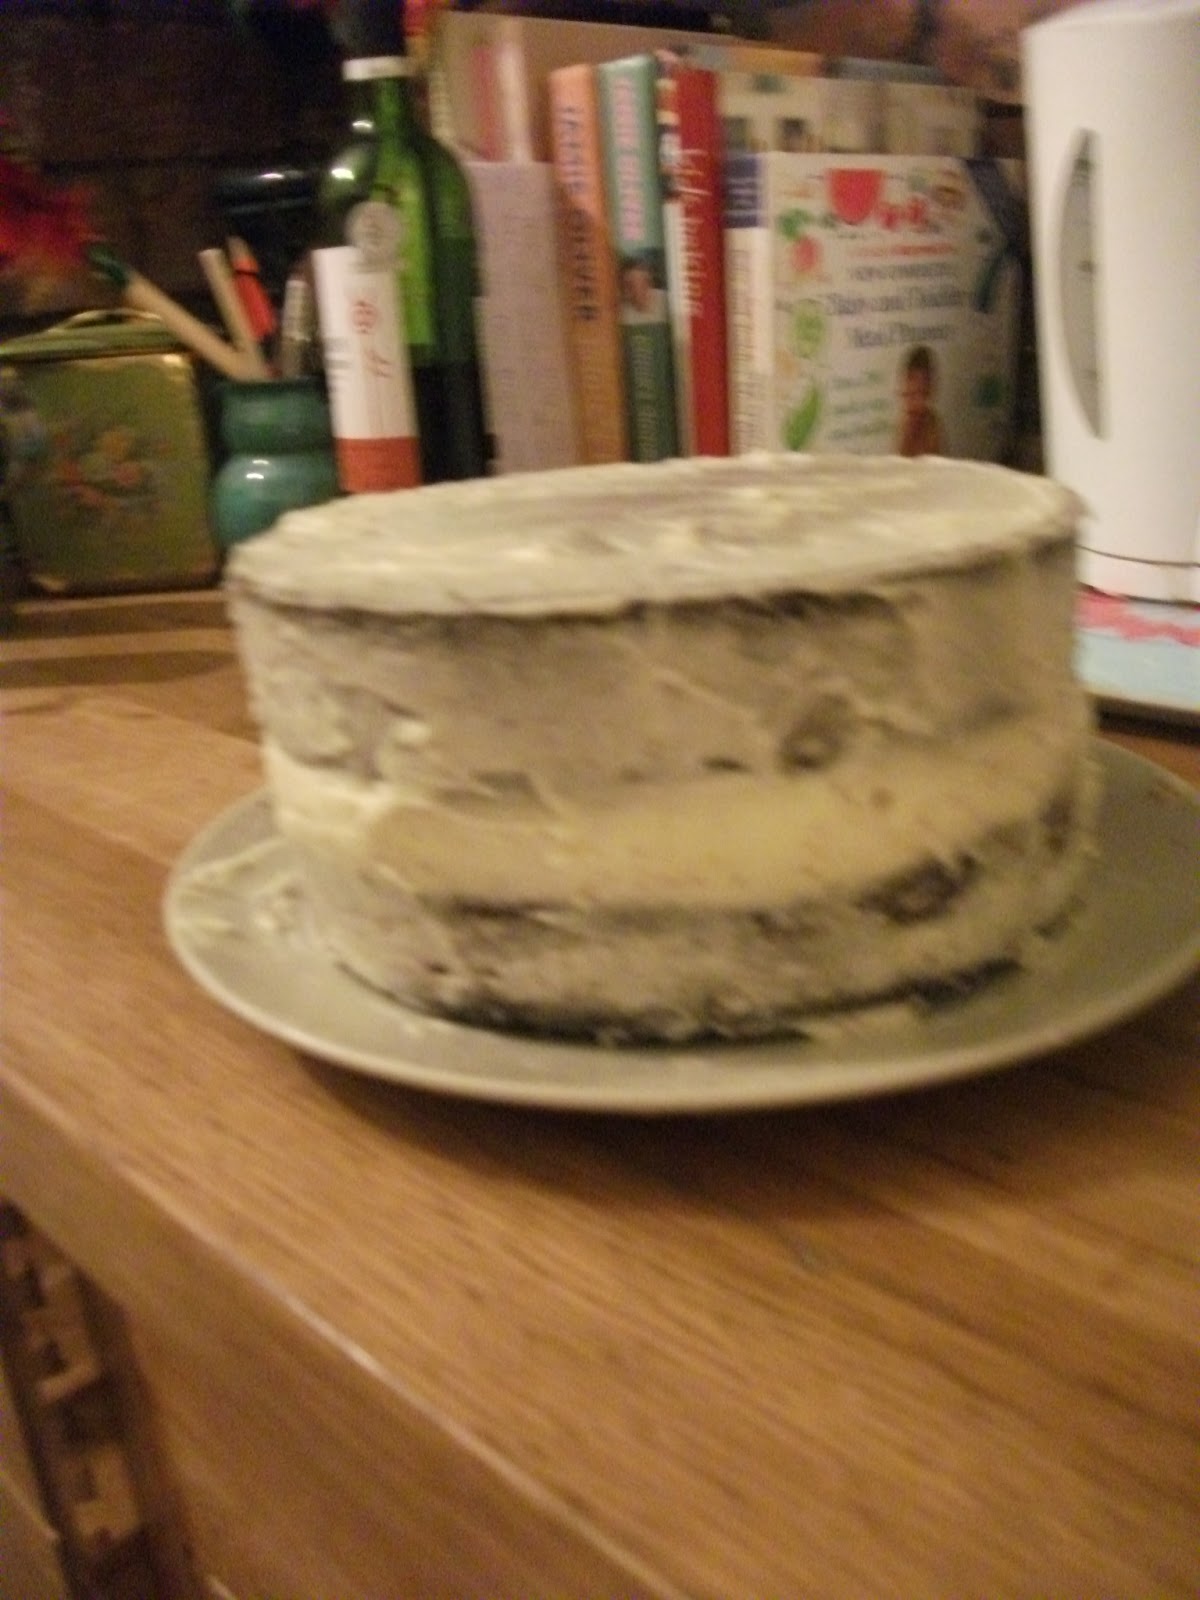 After creaming together the butter and sugar until it was creamy and fluffy, I then added the cream cheese and vanilla essence and mixed them in well. I used a third of this mixture to sandwich the two cakes together. Another third of the mixture was then used to coat the (sandwiched) cake - in the way that you might use marzipan or apricot jam as the 'undercoat' to the sugarpaste icing. I found that using a palet knife was the easiest way to achieve a smooth finish. I put the cake in the fridge for the buttercream coating to set - 30 mins to half an hour. Using the remaining buttercream mixture a second coating is put onto the cake and again the cake needs to be put inn the fridge for the buttercream to set.
Once set, the cake is ready to be iced in the sugarpaste. The icing needs to be kneaded until soft and then rolled out on a clean surface that has been dusted in icing sugar. Once the icing was rolled out enough to coverr the cake I lifted it carefully over my rolling pin and placed it over the cake, pressing down gently at the sides. Ideally at this stage, to achieve a professional finish, cake smoothers should be used to 'polish' the cake. At this stage you can then decorate as you wish. I used a flower shaped plunger cutter to cut out the (bought ready made) red sugarpaste flowers and then I used edible glue to stick then onto my iced cake and put a 'dot' of white icing in the middle. And this was the result....
No comments:
Post a Comment